Now I don’t want to get anyone in trouble, but we have worked with FloorPops several times in our home and possible did things differently than recommended. So we wanted to make our own FAQ about our FloorPops, as we have installed them several times with no problems. Here you will find answers to your questions in our own voice and our experience. You can see the official FloorPops FAQ here.
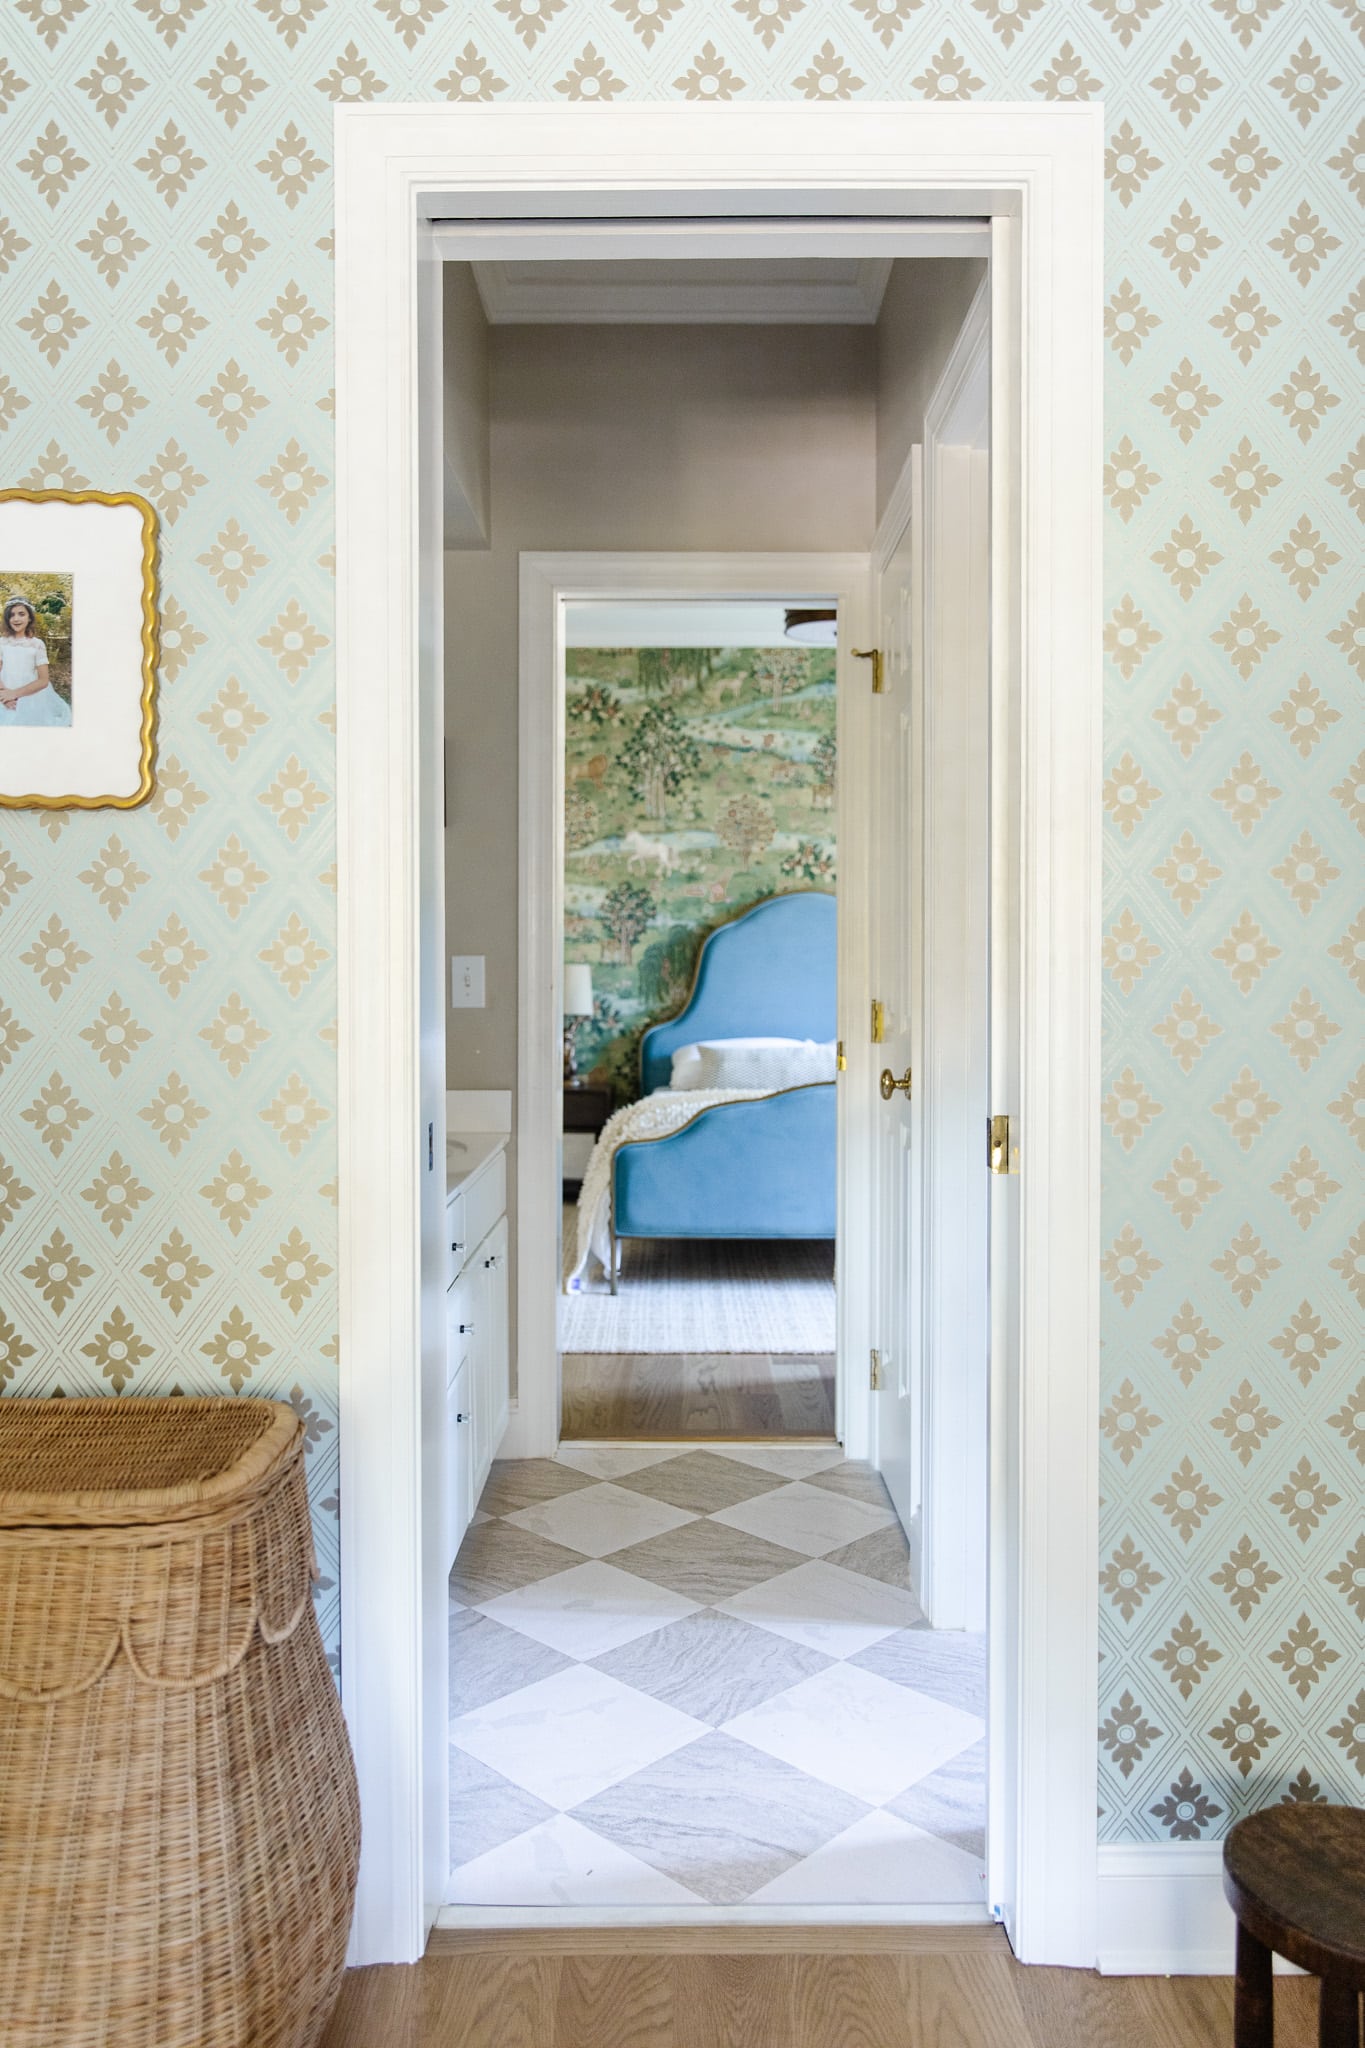
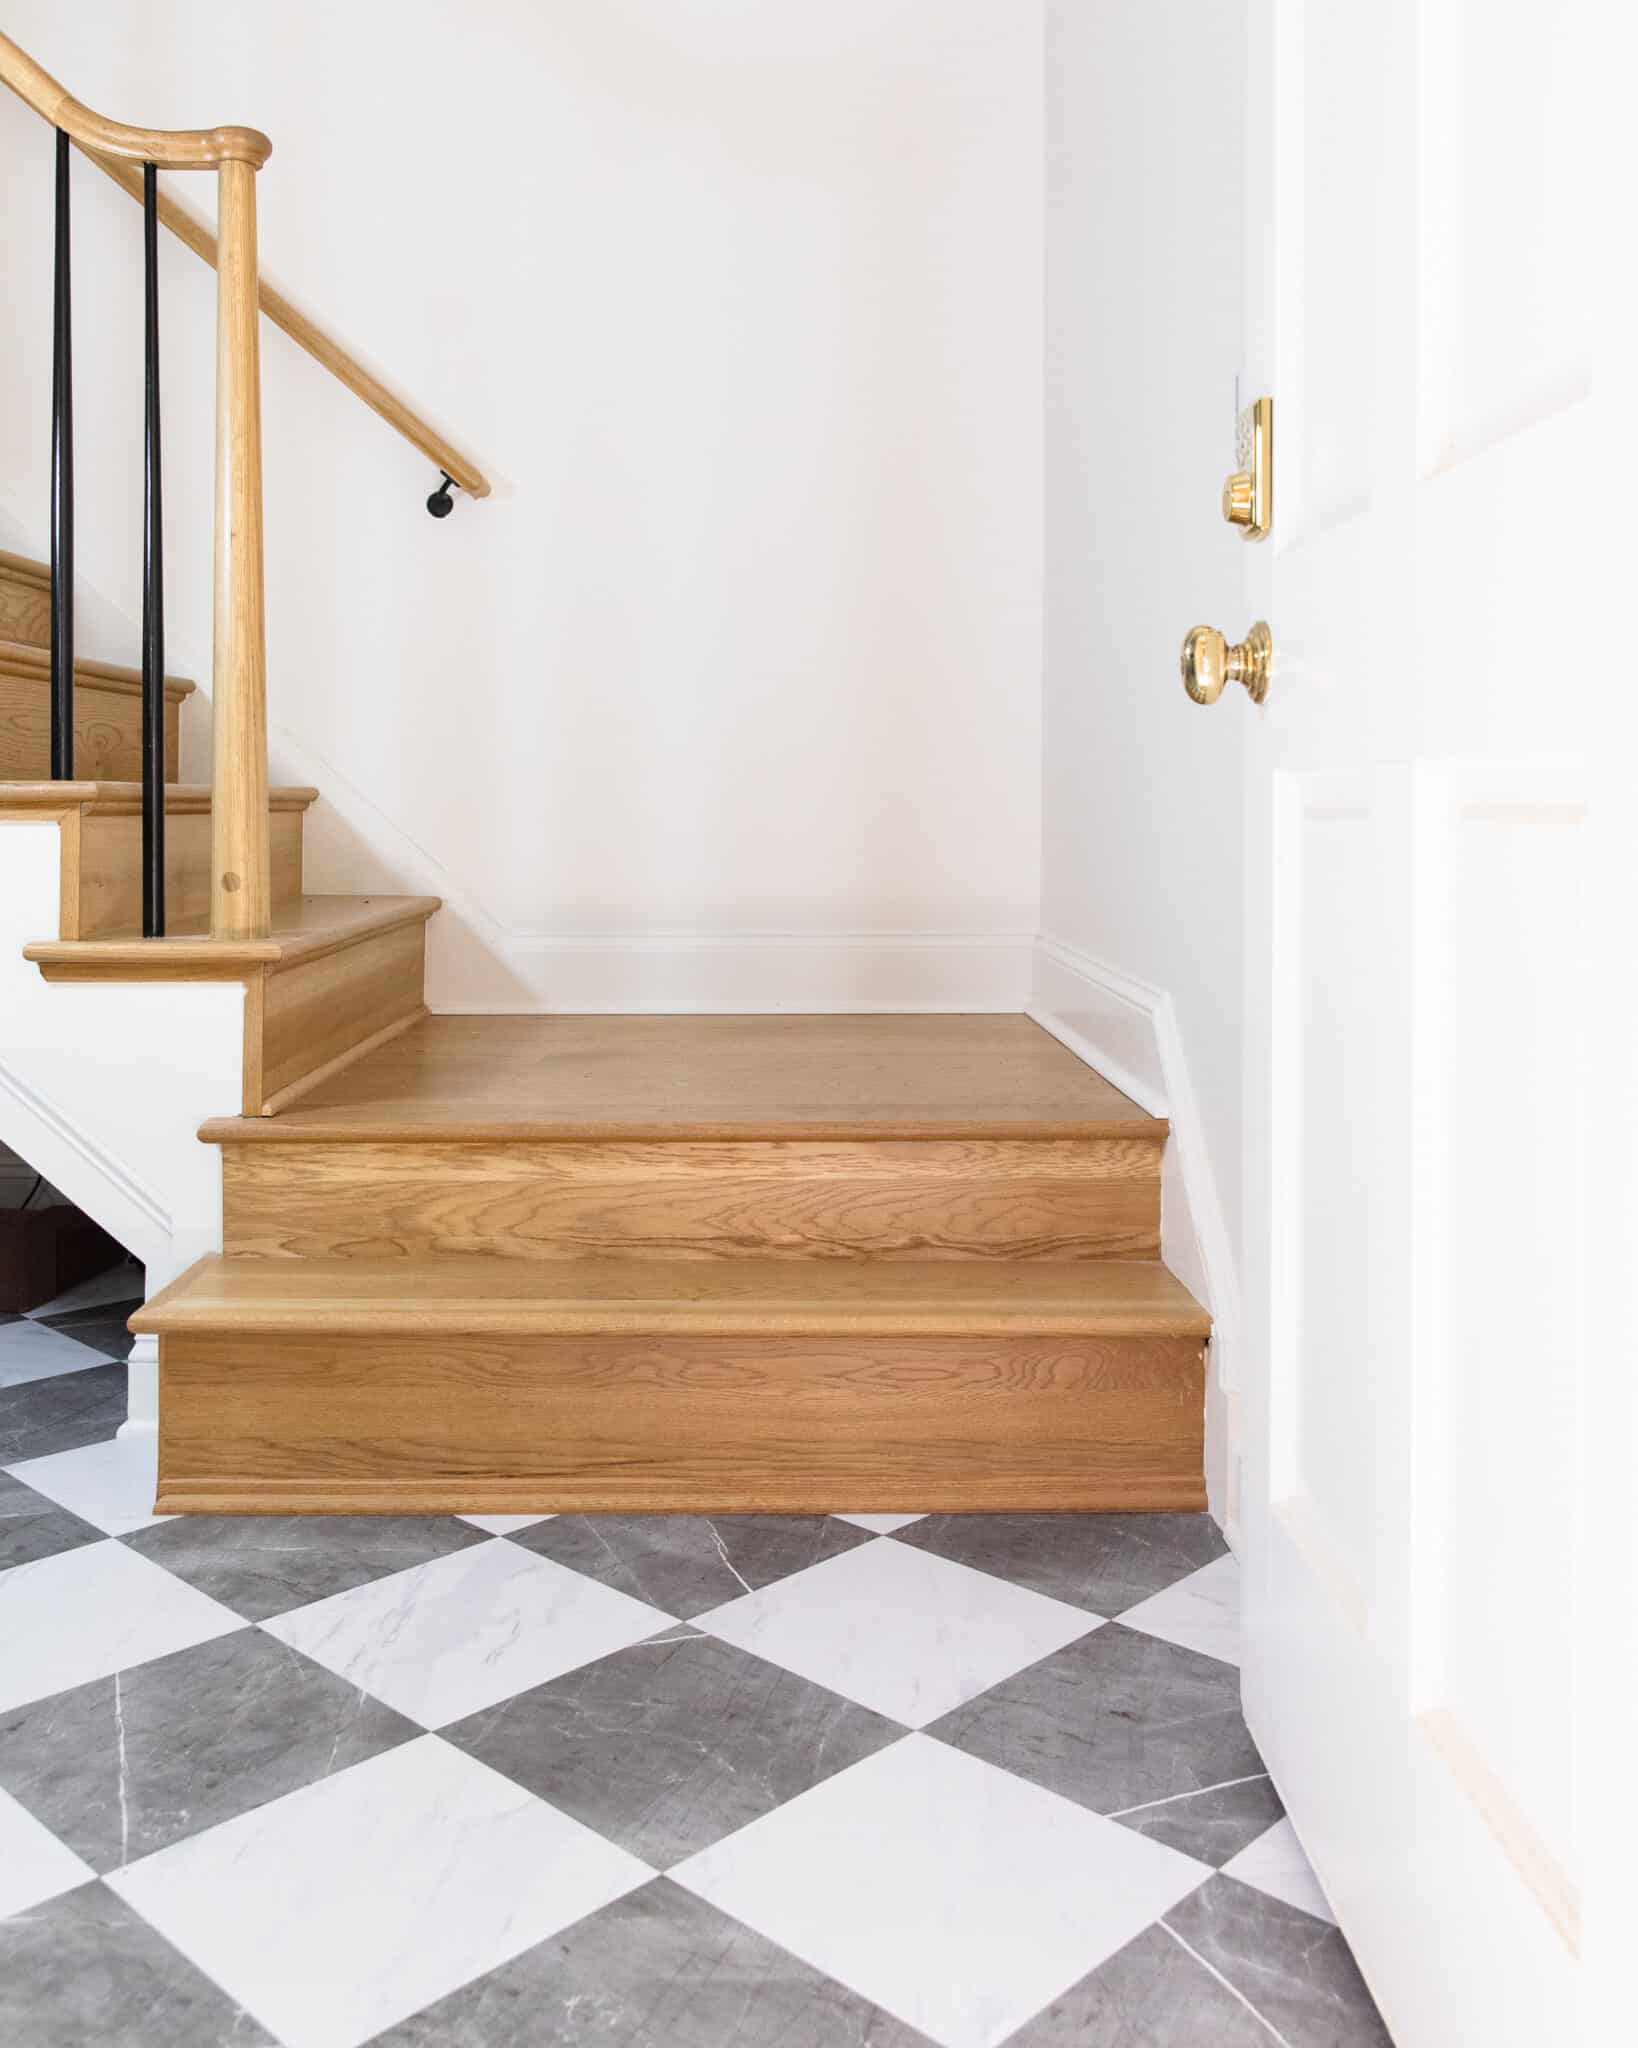
FloorPops Bonneville Beige | Rattan Carriage | Wave Gallery Frame | Geometric background | Polly Straw/Ivory | Bed | Mural Wallpaper
“Why FloorPops and not tiles?”
Budget and ease of installation. This is a project that can be done in a day for many small spaces and only requires a razor, a square and a pencil.
“What material are they made of?”
These are vinyl tiles with a low gloss and strong adhesive.
“Where do you use FloorPops in the house?”
Shop our FloorPops

Bathrooms, laundry rooms, kitchens, toilets, utility rooms – anywhere that would be good for a quick upgrade, really. We have them in our home gym, playroom bathroom, and the girls bathroom pictured above.
“On what surfaces can they be applied?”
They are for indoor use only, so concrete, smooth wood and flooring are great. We laid over the tiles several times. FloorPops recommends that you do not use then on unprepared ceramic or slate tiles, laminate, old vinyl, rough wood, exterior or vertical surfaces, or heated floors (which would loosen the adhesive).
“Can FloorPops be used as flooring in new construction?”
Of course, just be sure to install on a base or recommended surface.
“How about using them on the shower wall? Are they waterproof?”
He’s not going to work, unfortunately. They are not intended for vertical use. They are also waterproof, but not waterproof for permanently wet areas.
“Can you put them in an unheated patio, covered porch, or enclosed sunroom?”
You can use the tiles on concrete, but only indoors.
“Are they waterproof? Is water seeping through the seams?”
They are water resistant, but not waterproof. We had no problem with them in the girls bathroom.
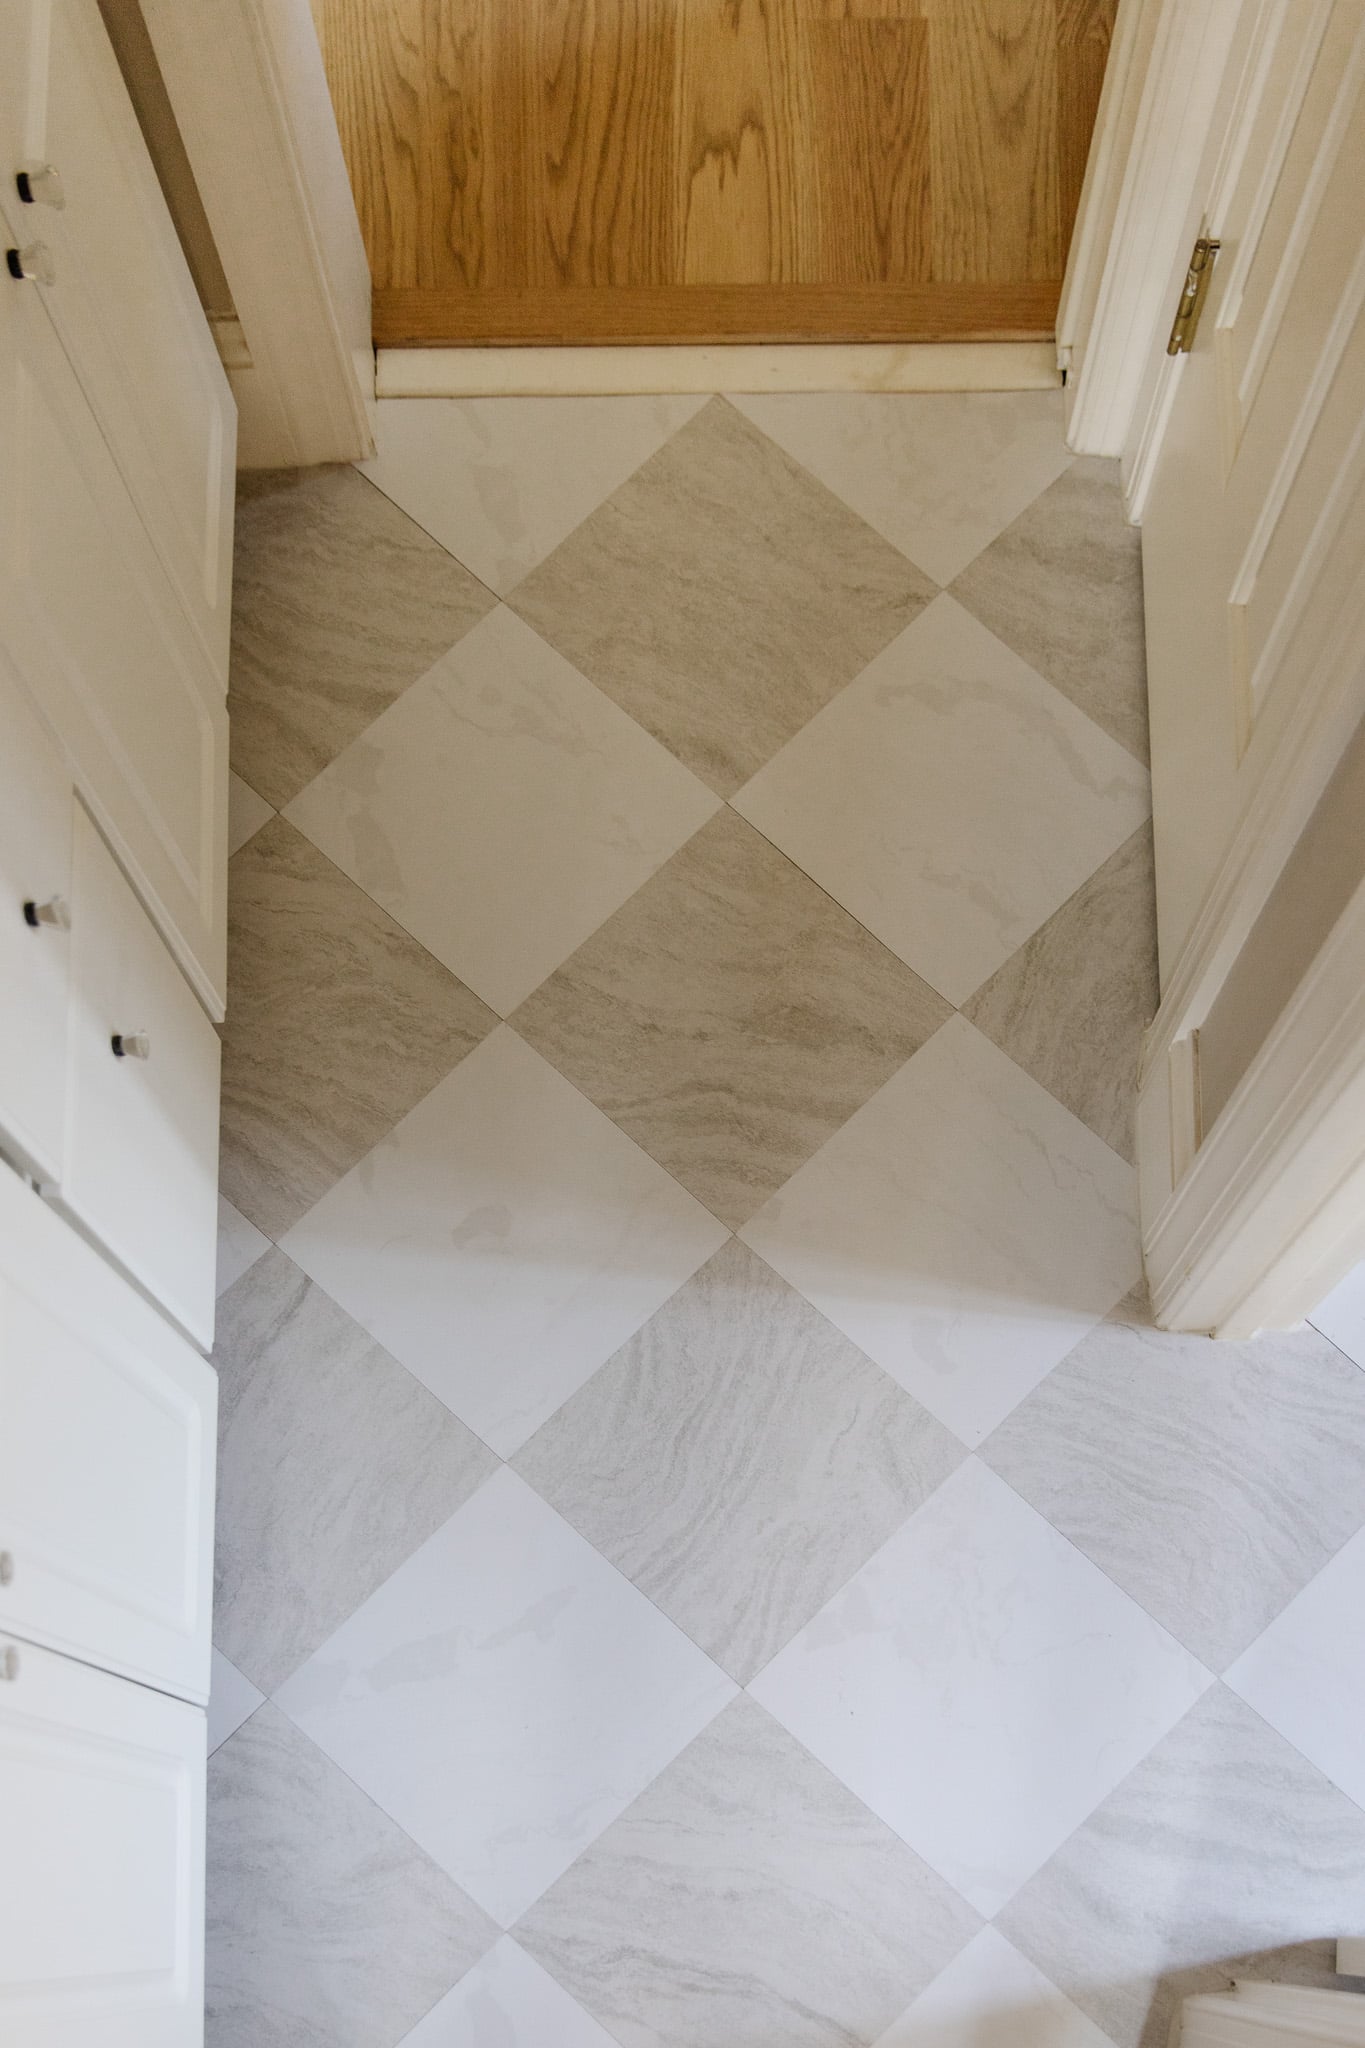
“How much do FloorPops raise the overall floor level? How thick are they?”
They are about ⅛ inch thick – very little lift on the floor.
“What about installing FloorPops over tiles of the same size?”
When the tiles are the same size as the FloorPops, 12″ x 12″, you can glue them directly on top, which could have a nice finished look.
“Can you put FloorPops over tiles of different sizes?”
Yes, you can, but it’s best not to line up the seams with the grout lines. Try moving them to create a smoother surface.
FloorPops Bonneville Gray & White
“How do you prepare the floors?”
We have a post about it! You can clean the floor really well and we’ve thrown in a self-adhesive tile primer for good measure.
“How do we measure how much we need?”
FloorPops has a handy calculator on their website under each product page. You just need to know the length and width of the floor.
“Where do you start installing FloorPops first? In the middle of the room or on the edge?”
It’s best to start centered on the primary entrance to the room, so the first thing you see is centered.
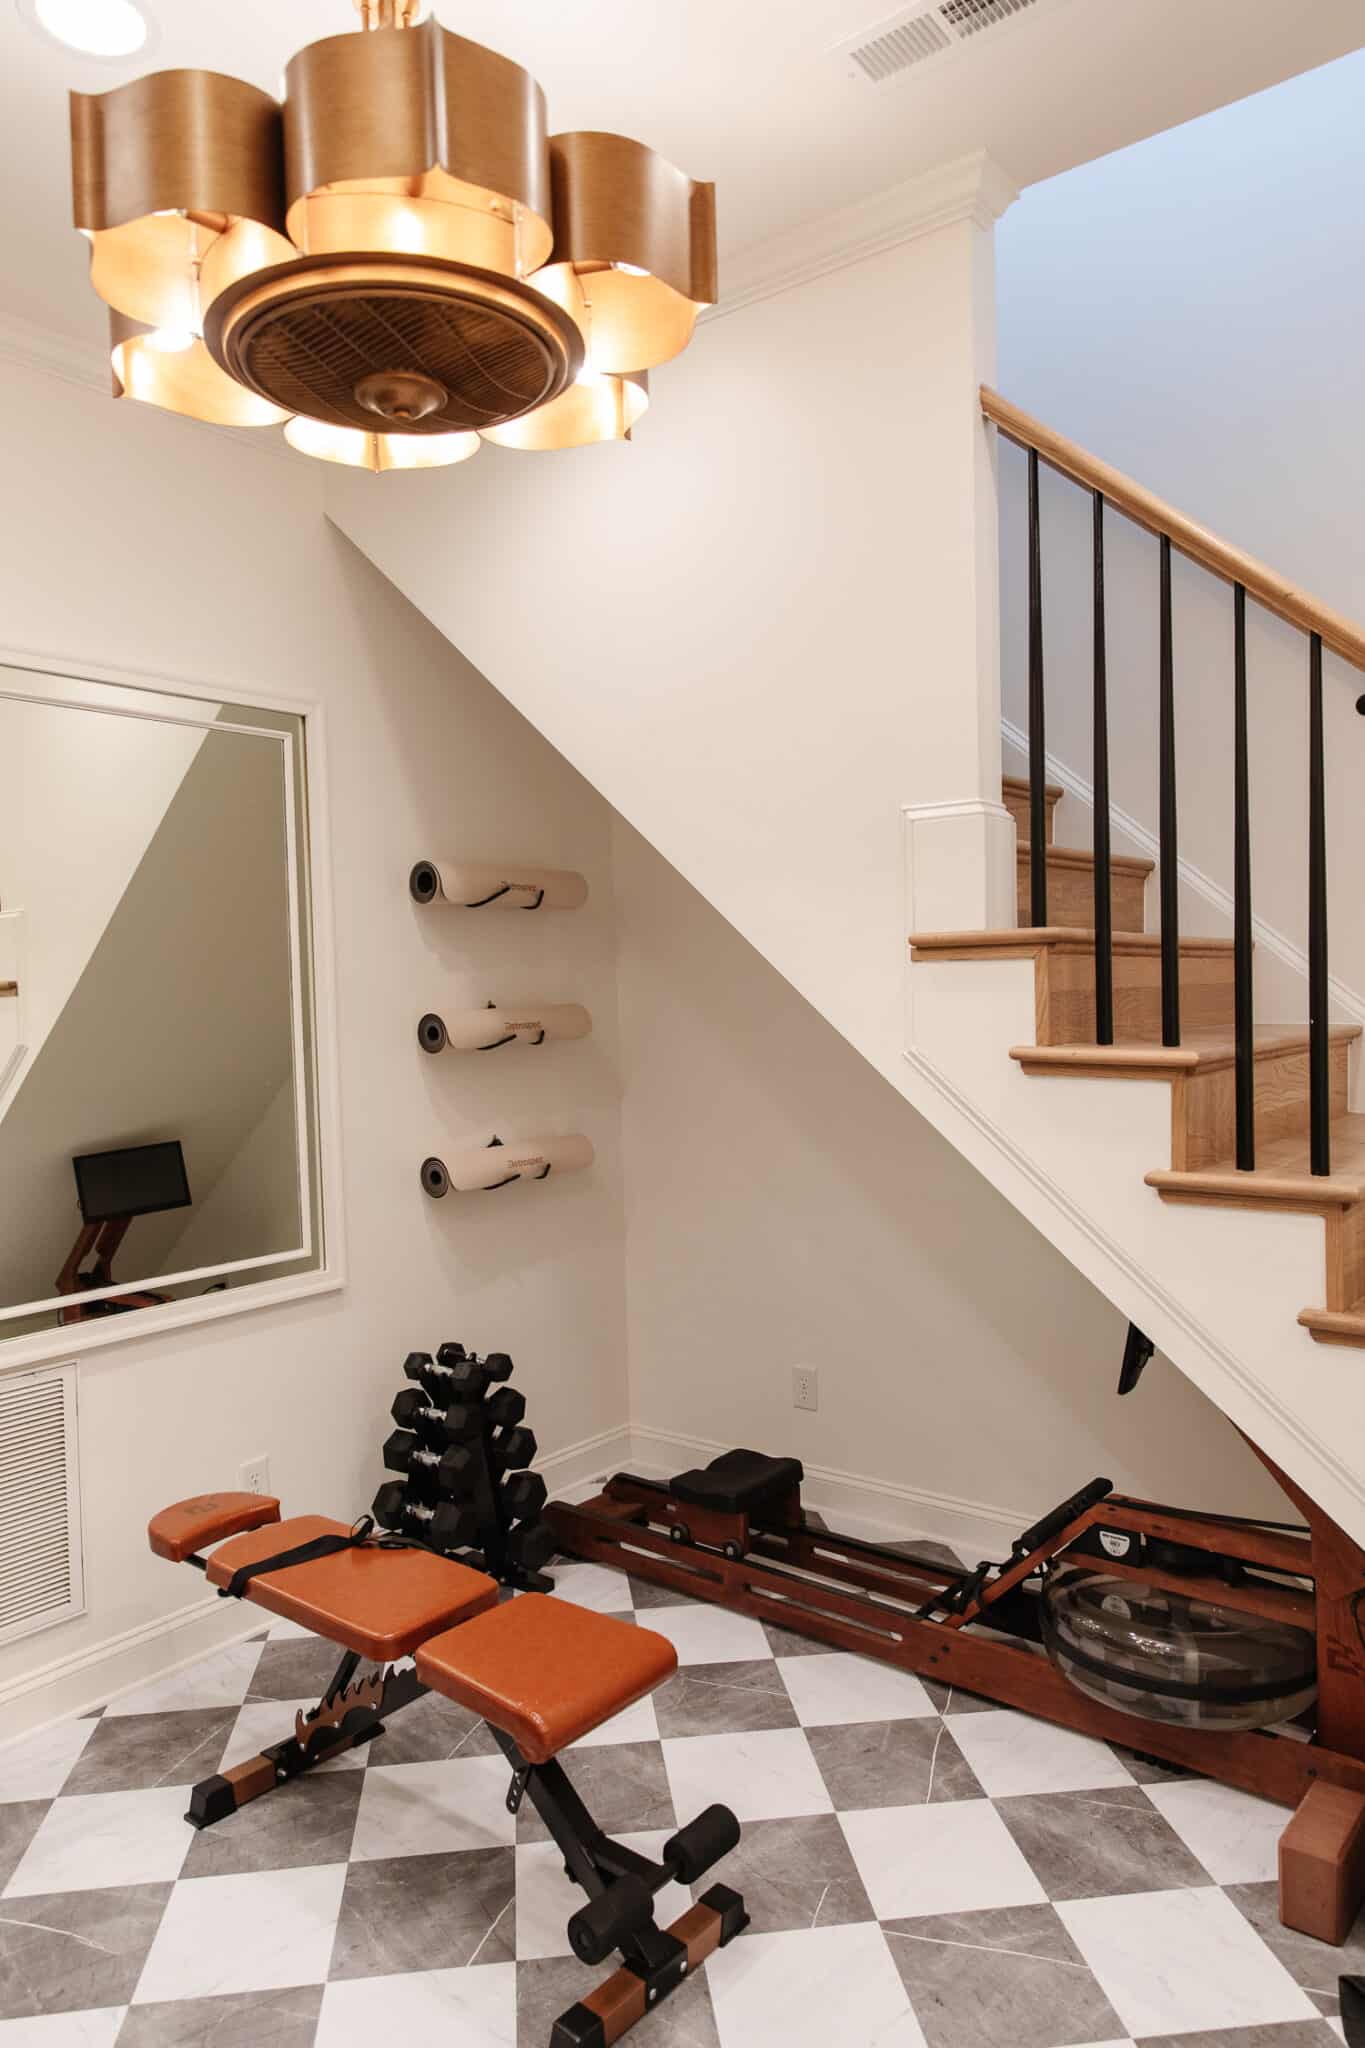
FloorPops Bonneville Gray & White | Ceiling Fan | Rowing machine (similar) | Dumbbell Rack | Yoga Mat | Wall stand for yoga mat
“Will the grout lines underneath eventually show? Does it go well over the grout lines if you want to change the floor pattern?”
I can’t say that they “never” will, but I can say that so far they never have for us. FloorPops recommends filling the grout lines with a thin, hardened mortar to avoid this. Changing the floor pattern is also something I suggest. You are more likely to have corner watering if each edge is over the grout line. Move them so that the FloorPops tiles are not perfectly aligned with the tile below.
“Do you have to grout tile lines during installation?”
We’ve never filled grout lines and never had any problems, but that’s up to each. Sometimes the tile we have in the house has more of a wavy edge. So how do we address adding FloorPops over the top? We bumped them against each other; basically we rotated the FloorPops at a 90 degree angle so they sit on the floor tiles, covering the grout lines for a smooth look.
“Which grout would you use to ensure water doesn’t get trapped underneath?”
I personally would not use grout with this product. Place the tiles as close together as possible and sand the edges around the walls. If the tiles get wet within 24 hours of laying, dry them as soon as possible or they may shrink. Once they really get stuck – after a week or so – it takes a lot to get them to climb. Even still, don’t let wet things or puddles of water sit on them for too long.
“What type of transition lane are you using? Does it fit FloorPops?”
We’ve only ever joined the tiles up to the transition strips that were already installed, and it looks great. If you don’t have one, use either a light marble transition (to match the FloorPops) or something that matches the material of the adjacent floor.
“Do you have to remove the stand to install FloorPops?”
This depends. If there’s room for them to sneak under, then no. If you feel confident that you can cut your edges really tight for the stand, then also no. But if your cuts are wide and crooked and can’t be choked, you may need to remove the baseboard or add a quarter round shoe molding along the base of the wall over the new floor.
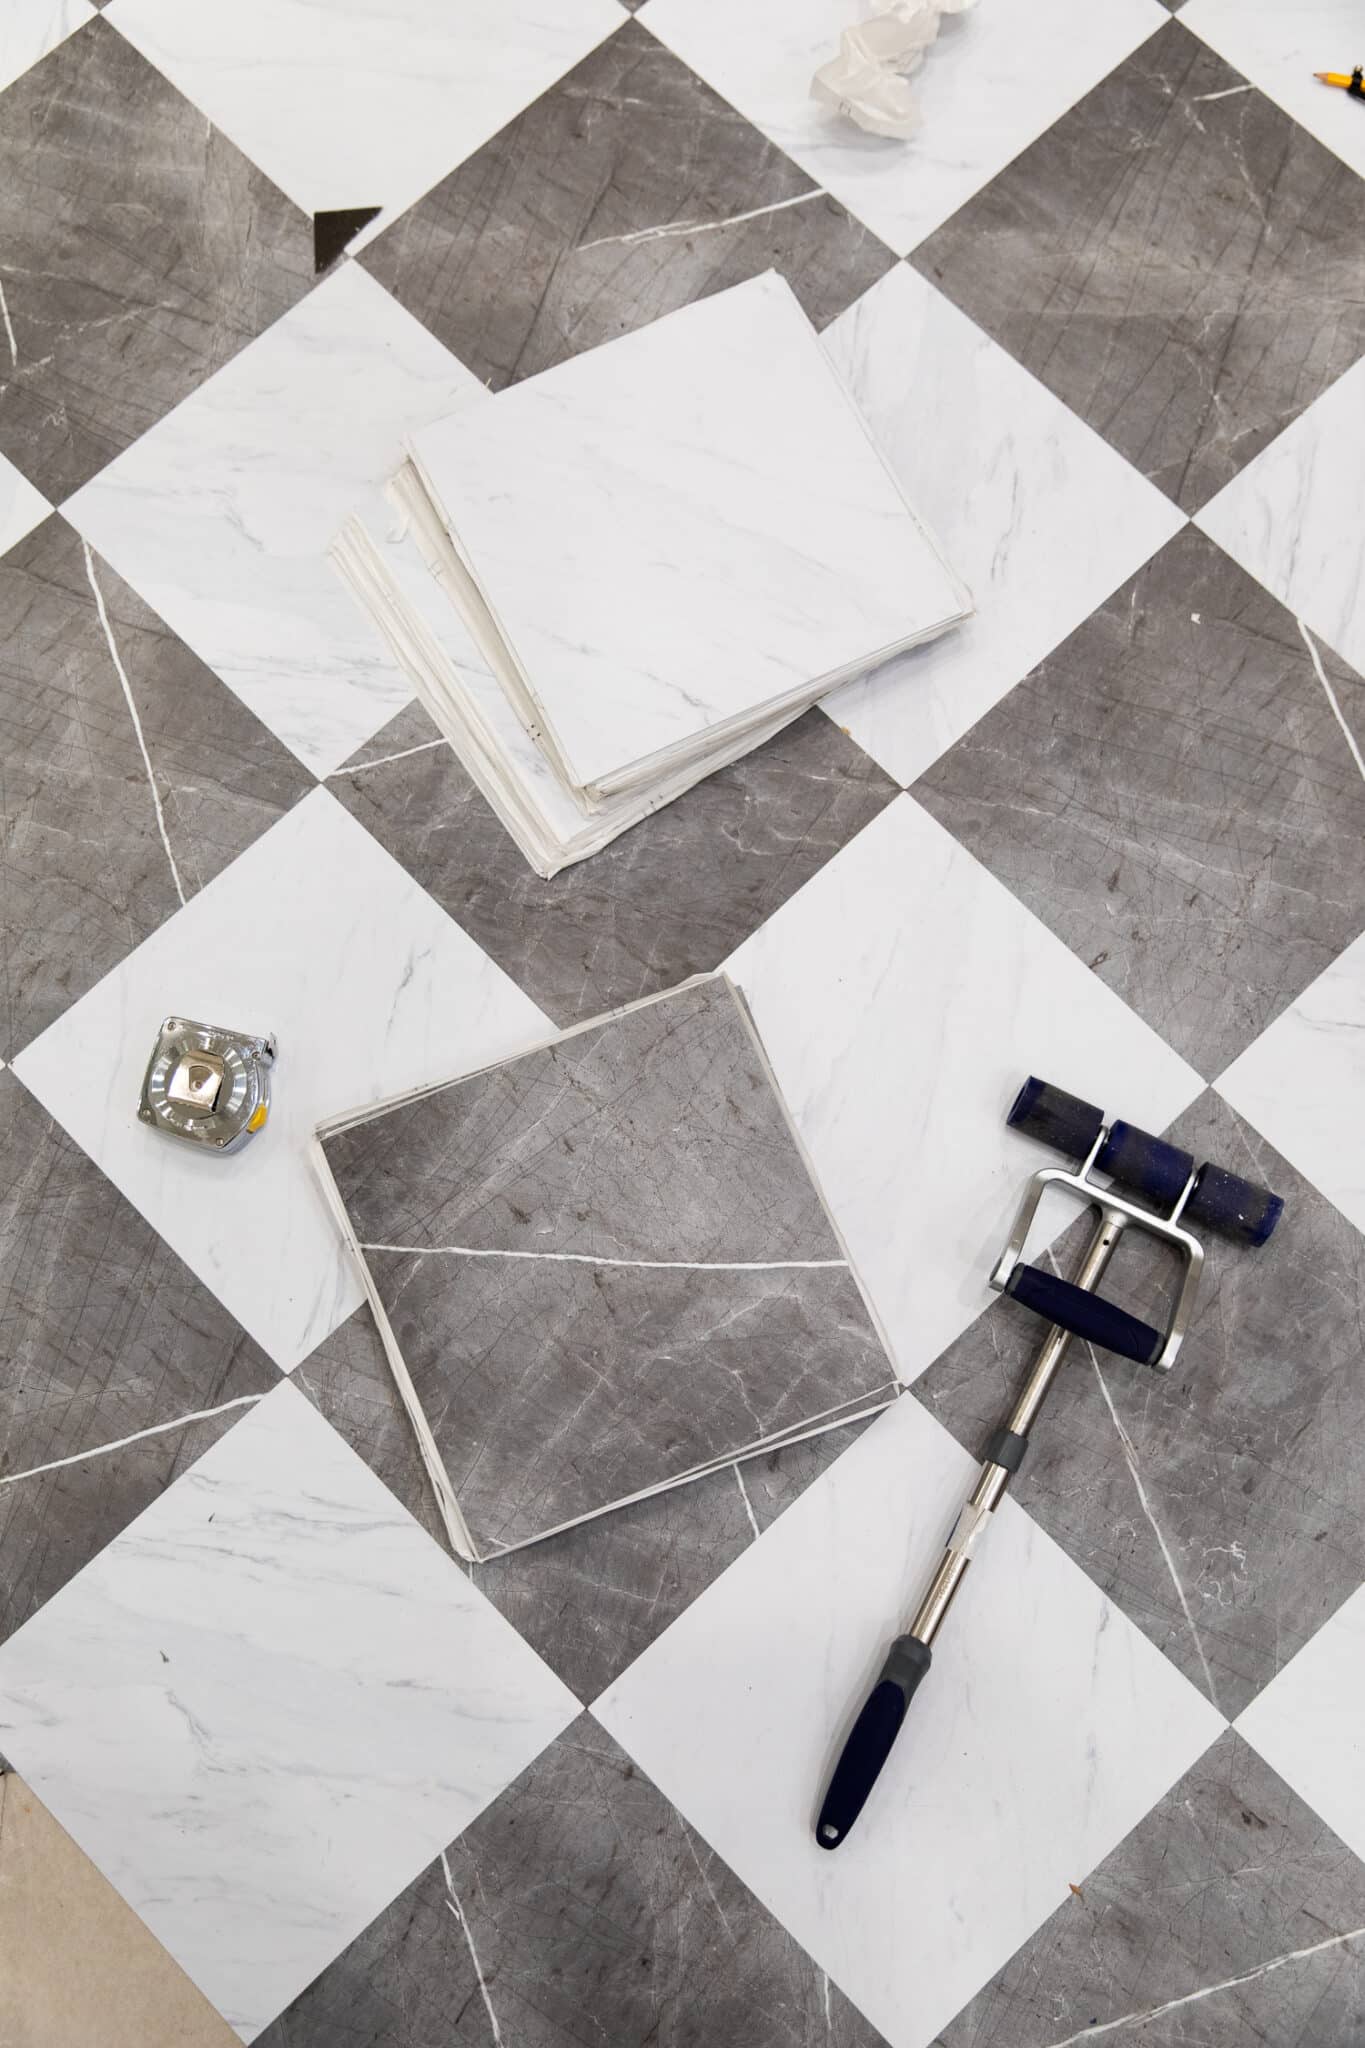
“What tools do I need to easily cut FloorPops to size?”
The only tools needed are a razor, a square, a tape measure (optional), a pencil, and a piece of wood or something to cut on.
“Are there any special care requirements?”
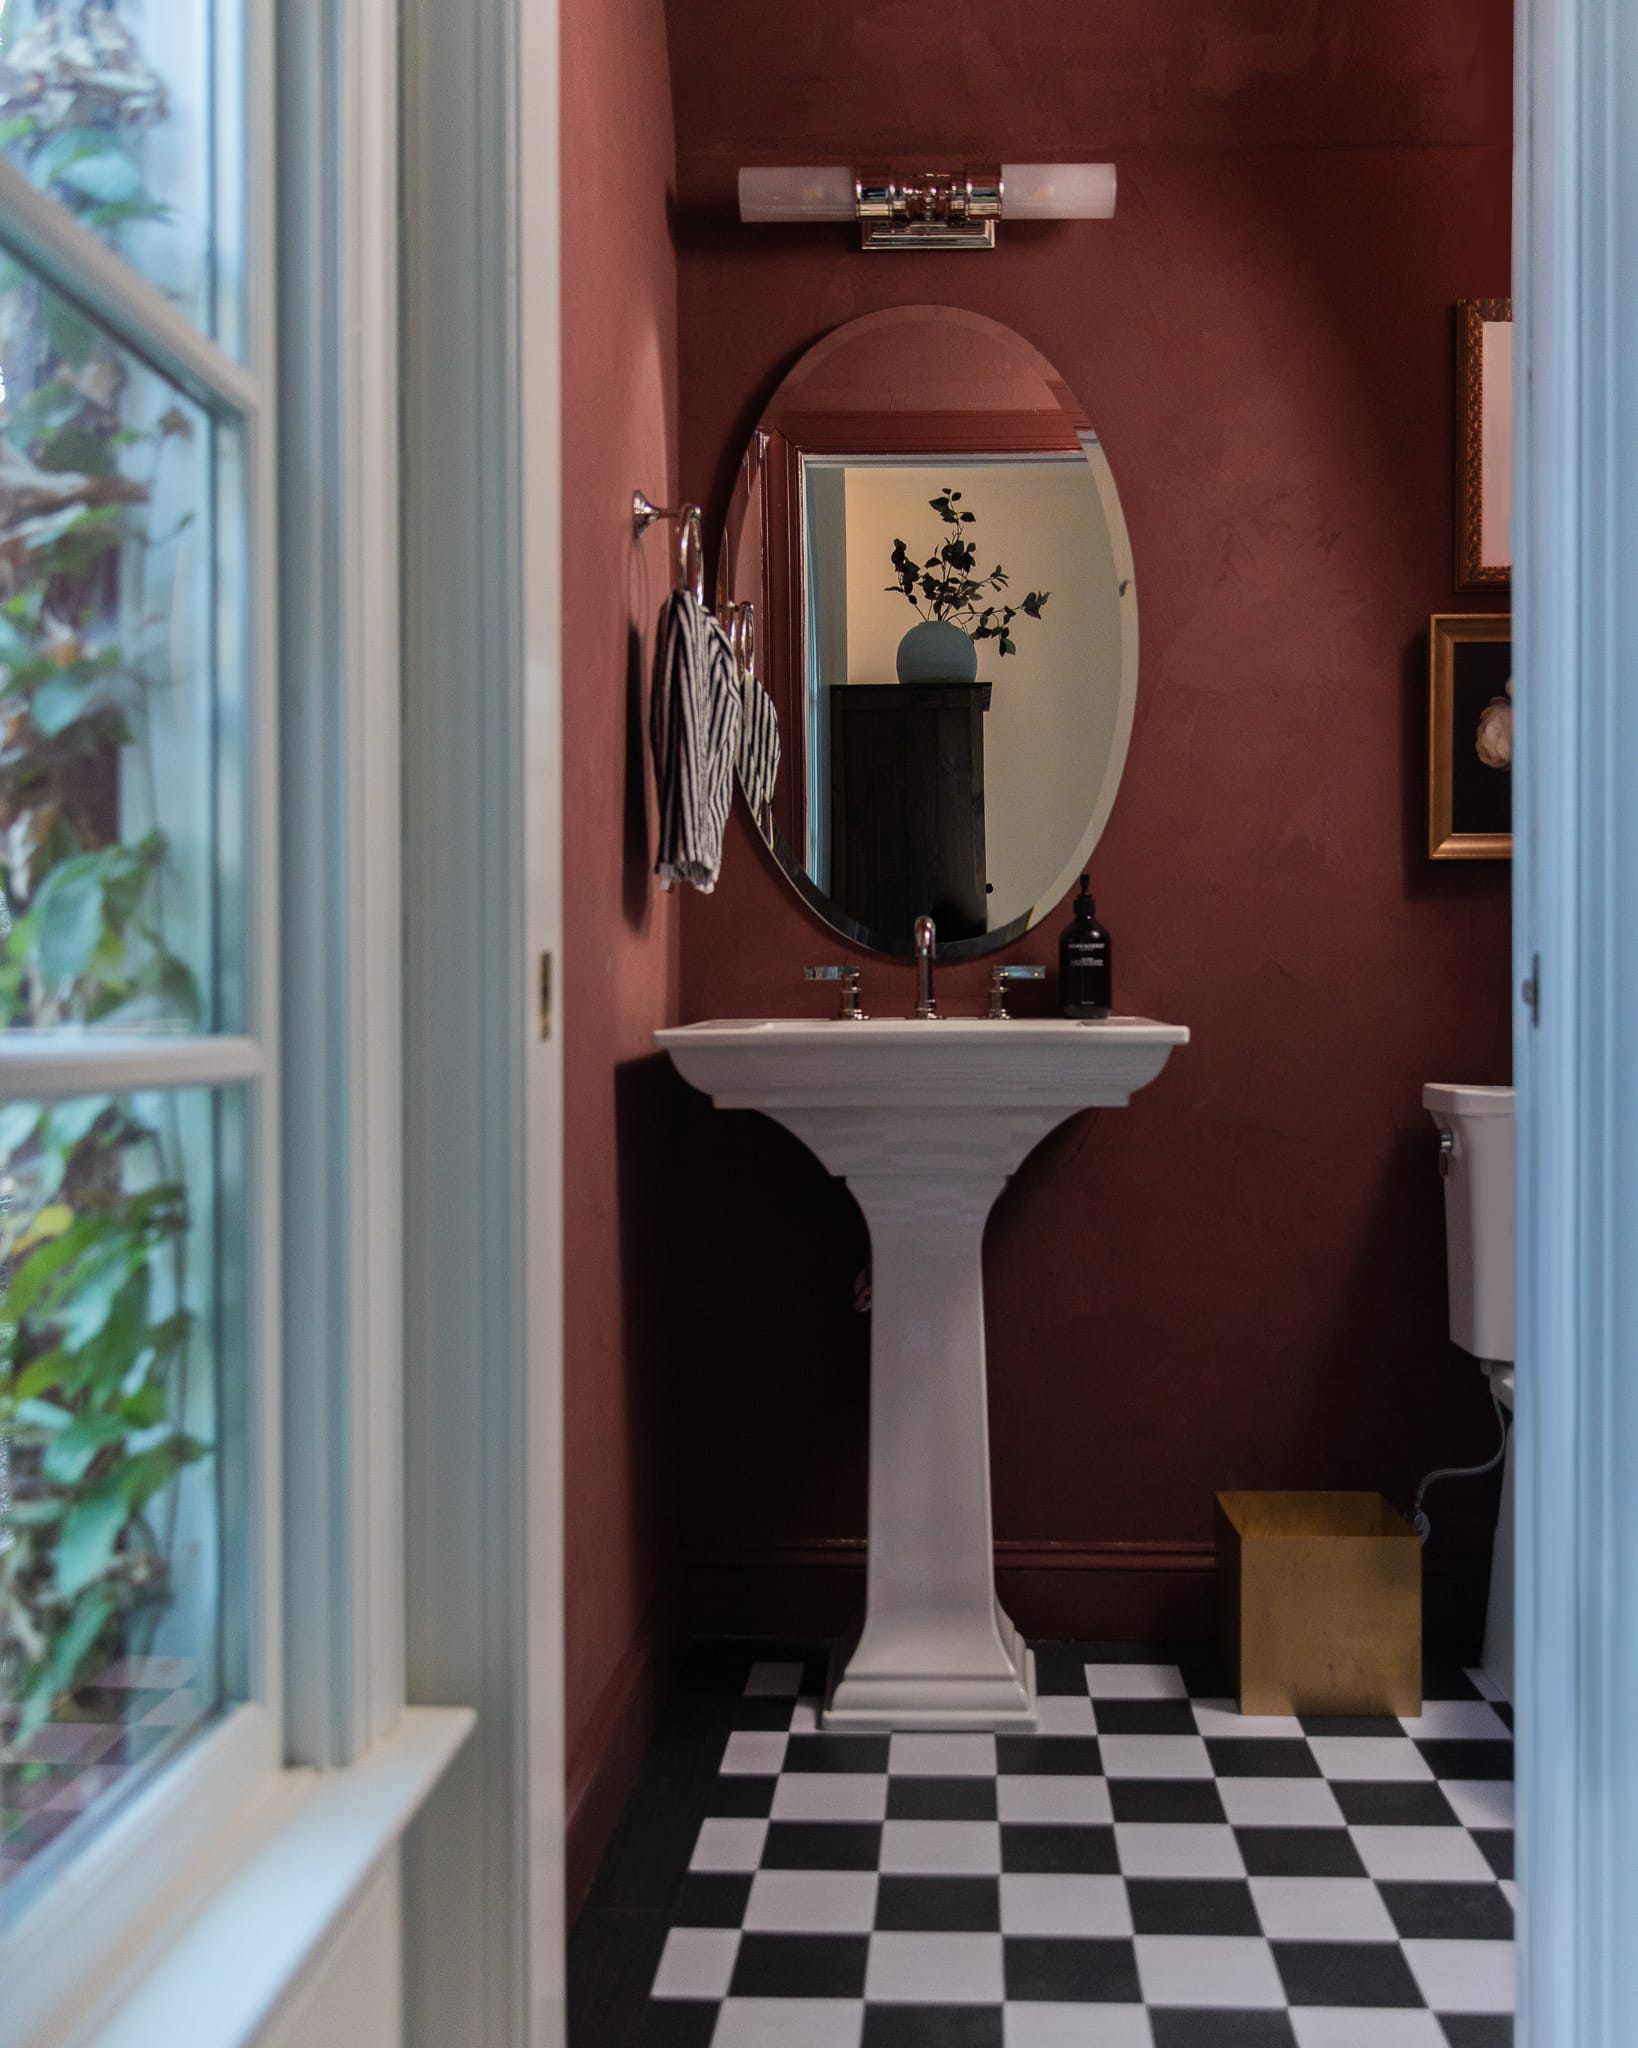
FloorPops Lawrence | Sink Bowl | Pedestal for sink | Faucet | Towel Ring | Double Candlestick | Brass Garbage Can | Gold Vintage Frame | Toilet
They are so easy to maintain that they are easy to clean. We just use the Swiffer Wet Jet and just wipe it down. We don’t do anything special.
“Does FloorPops feel sticky at the seams or attract dirt?”
Not if the stitches are tight. You should be good there!
“Is there anything to keep them from being slippery?”
There are do-it-yourself abrasive non-slip floor coatings available commercially, such as SparkleTough.
“Are FloorPops durable enough?”
Extremely durable, and individual tiles can be replaced if needed. This is useful in case someone gets a dent from a sharp object falling on them.

Shop The Home Gym
“How are your FloorPops holding up? How long do they take?”
No obvious wear! They still look like new. When properly installed, they can last for years.
“Can FloorPops be removed without damage? Considering the rent.”
I recently tried to remove some tiles in the girls bathroom to re-install after our toilet overflowed, and it took me 10 minutes per tile to peel them off. So I’d say they really can’t be removed!
“Are they available in UK or Canada?”
They are currently available in the United States and Canada.
“Will you ever come out with more FloorPops designs?”
Absolutely! We can’t share details yet, but we’re very excited about the new look. It’s also great that our link patterns are so classic, they’ll never go out of style!
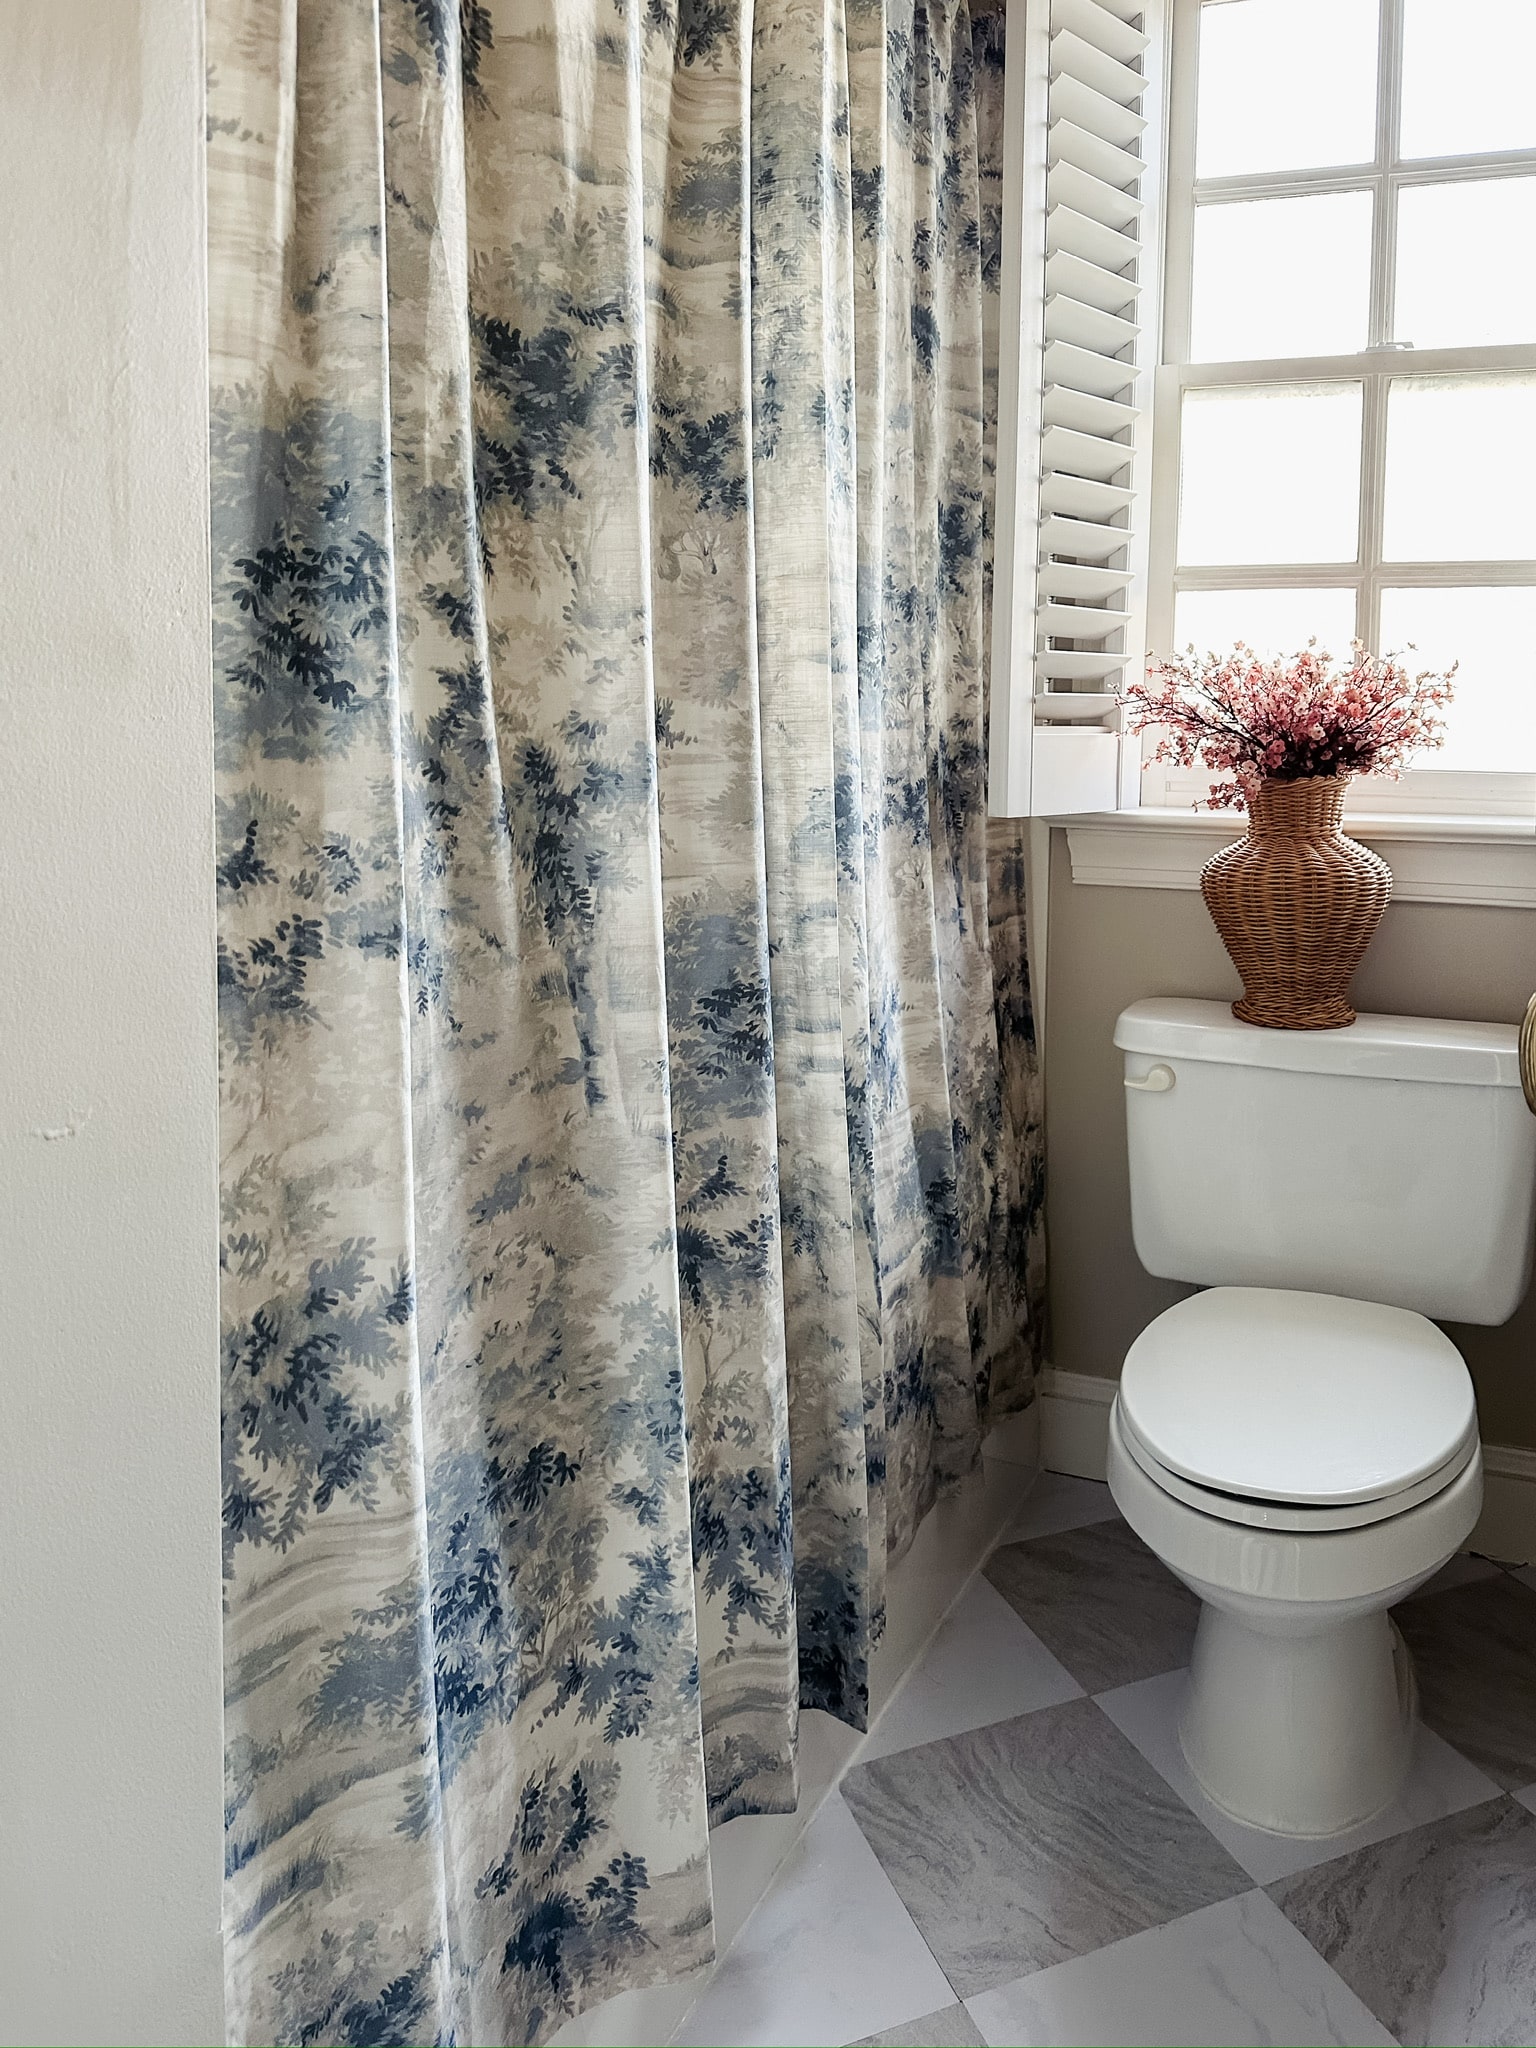
FloorPops Bonneville Beige | Shower Curtain (similar) | Rattan vase
If we missed your question, leave us a comment below!